
Pigeon Pose — Eka Pada Rajakapotasana — is the deep hip opener people either love or brace for. Done with care, it releases the outer hips and glutes like little else, and it can ease the tension that sitting all day stores in the hips and lower back. Done in a hurry, it can nip the front knee. This is the kind guide: how to find the stretch safely, the props that protect the knee, and the reclined version that gives most beginners the same release with none of the risk.
This is general guidance, not medical or personalised instruction — see a qualified teacher for hands-on help.
Pigeon Pose at a glance
| Sanskrit | Eka Pada Rajakapotasana |
| Level | Intermediate · approach gently |
| Type | Seated hip opener · deep stretch |
| Targets | Outer hips, glutes, hip rotators (front leg); hip flexors (back leg) |
| Hold | A few breaths up to a minute or two per side |
| Props | A block or folded blanket under the front hip — strongly recommended |
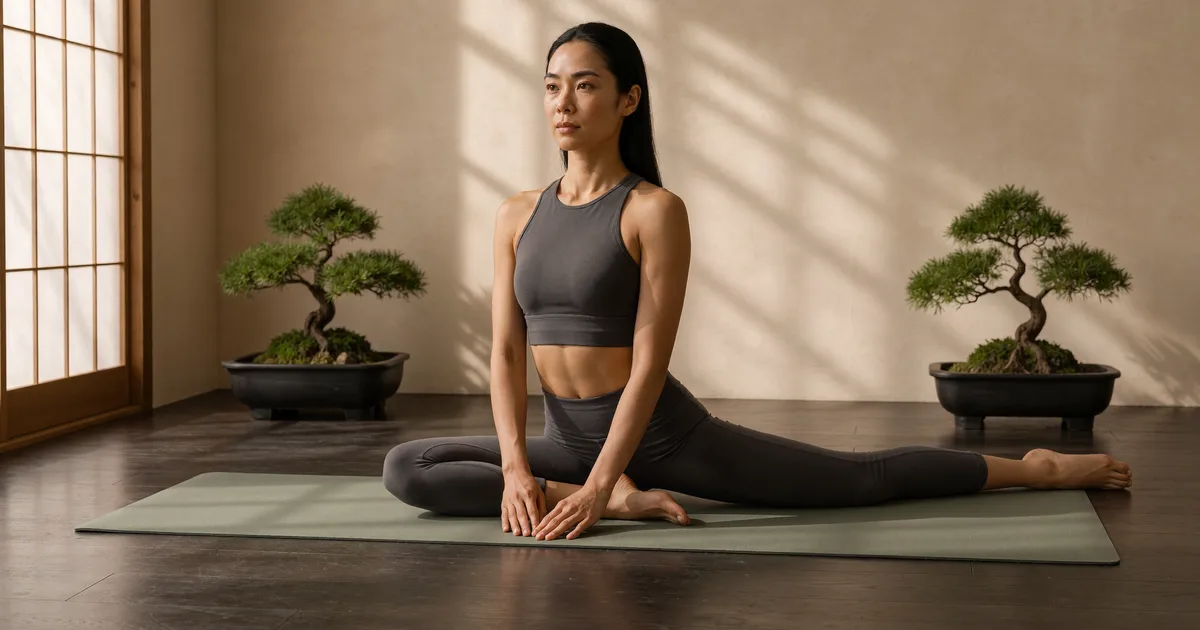
How to do Pigeon Pose
- Start in Downward Dog or tabletop and bring one knee forward toward the same-side wrist.
- Set the front shin down at a comfortable angle, foot toward the opposite wrist, and flex the front foot to support the knee.
- Extend the back leg straight behind, thigh pointing down to keep the hips square.
- Square and support the hips — level them and lower toward the mat, sliding a blanket or block under the front hip if it floats.
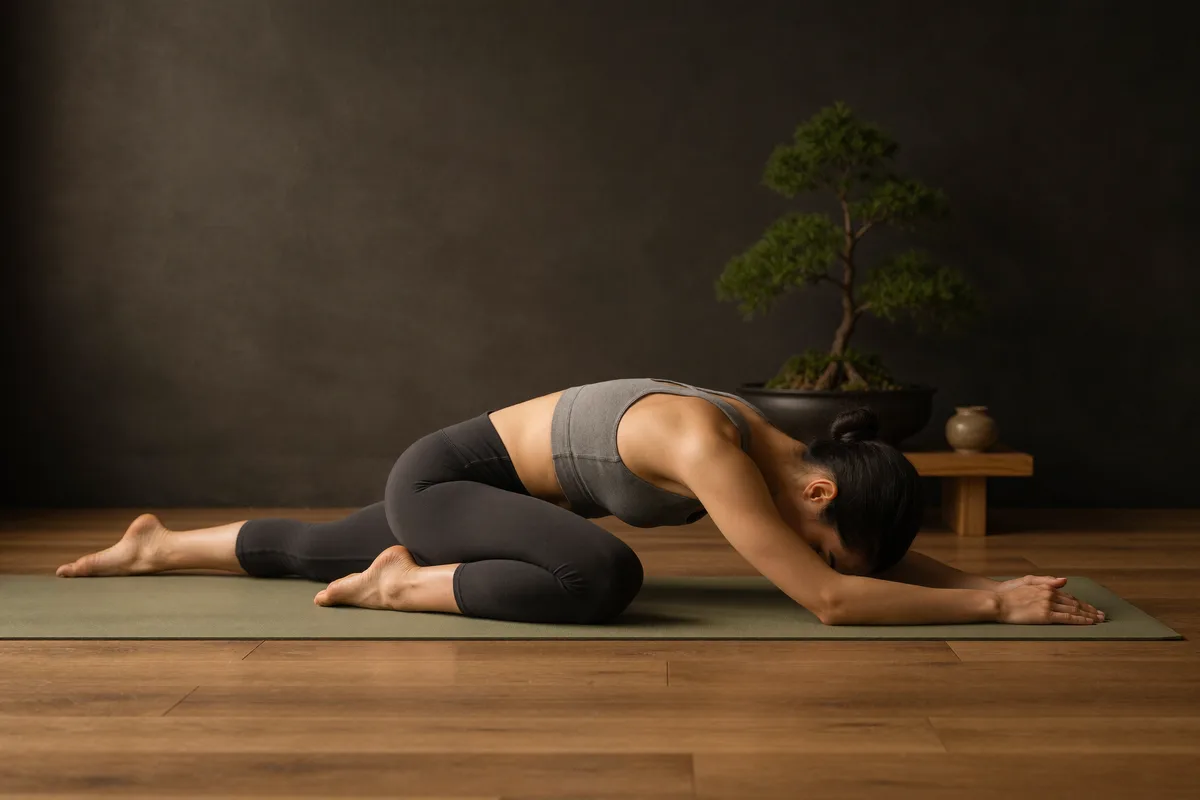
- Choose your depth — stay tall, or fold the torso forward over the front leg — and breathe slowly before switching sides.
Common mistakes
- Collapsing onto the front hip. Without support the weight tips onto the knee and twists the lower back. Prop the hip up.
- Forcing the front shin parallel. A more tucked shin is gentler on the knee; only open it toward parallel if your hips happily allow it.
- Letting the back hip splay open. Point the back thigh and kneecap down to keep the hips square — that is where the real stretch is.
- Pushing into pain. A deep stretch is the goal; sharp knee or lower-back pain is a signal to back off or switch versions.
Modifications
- Reclined Pigeon (Figure-4) — on your back, cross one ankle over the opposite thigh and draw it in. The same outer-hip stretch with zero weight on the knee. The go-to for most beginners and anyone with sensitive knees.
- Block or folded blanket under the front hip to level the hips and protect the knee — almost everyone benefits from this.
- A blanket under the back knee if it feels tender against the mat — the same cushioning that makes a good mat for sensitive knees matter.
- Stay upright rather than folding forward to keep the intensity manageable.
What it's good for
Pigeon gives a deep release to the outer hips, glutes and hip rotators while stretching the hip flexors of the back leg — exactly the areas that tighten from sitting. Many practitioners find it eases hip and lower-back tension, and it is a calming, grounding way to wind down a practice. Treated patiently, it is one of the most satisfying stretches in yoga.
Keep practising
Pigeon is a beautiful way to end a session — it follows naturally from Downward Facing Dog, and a round of Child's Pose afterward lets the hips settle. A cushioned, grippy mat makes the grounded hip and back knee far more comfortable.
Frequently asked questions
How do I do Pigeon Pose without knee pain?
Protect the front knee three ways: keep the front foot flexed (toes drawn back) to support the joint, bring the front shin closer to parallel with your hips only as far as is comfortable — a more tucked shin is gentler — and slide a folded blanket or block under the front-leg hip so you are not collapsing onto the knee. If the knee complains at all, switch to the reclined Figure-4 version below.
What is a good beginner alternative to Pigeon Pose?
Reclined Pigeon, also called Figure-4. Lie on your back, cross one ankle over the opposite thigh, flex that foot, and draw the other thigh toward you. You get the same deep outer-hip stretch with no weight or twist on the knee — the safest way for most beginners to open the hips.
Why won't my hip reach the floor in Pigeon Pose?
Tight hips, and very normal — most people's front hip floats well above the mat. Forcing it down tips you onto the knee and into the lower back. Pop a folded blanket or block under that hip so it has something to rest on; the height comes down over months of practice, if at all.
How long should I hold Pigeon Pose?
Deep hip stretches respond to time, so once you are comfortable, several slow breaths to a minute or two per side lets the hip release. Ease in gradually and never push into sharp sensation — a deep stretch is fine, pain is a stop signal.